A Handmade Holiday: Three Simple Garland DIYs
ByChelsea Harris
Published On

If your holiday decor philosophy falls somewhere between “Pinterest enthusiast” and “last-minute crafter,” you’re in good company. This year, we’re skipping the store-bought decorations in favor of three easy, festive garlands you can make in an afternoon. Armed with paper, ribbon, and a trusty hot glue gun, these projects are the perfect way to add a handmade touch to your holiday setup. From classic paper chains to twinkly stars and bow-tied beauties, here’s how to craft your very own merry little moment.
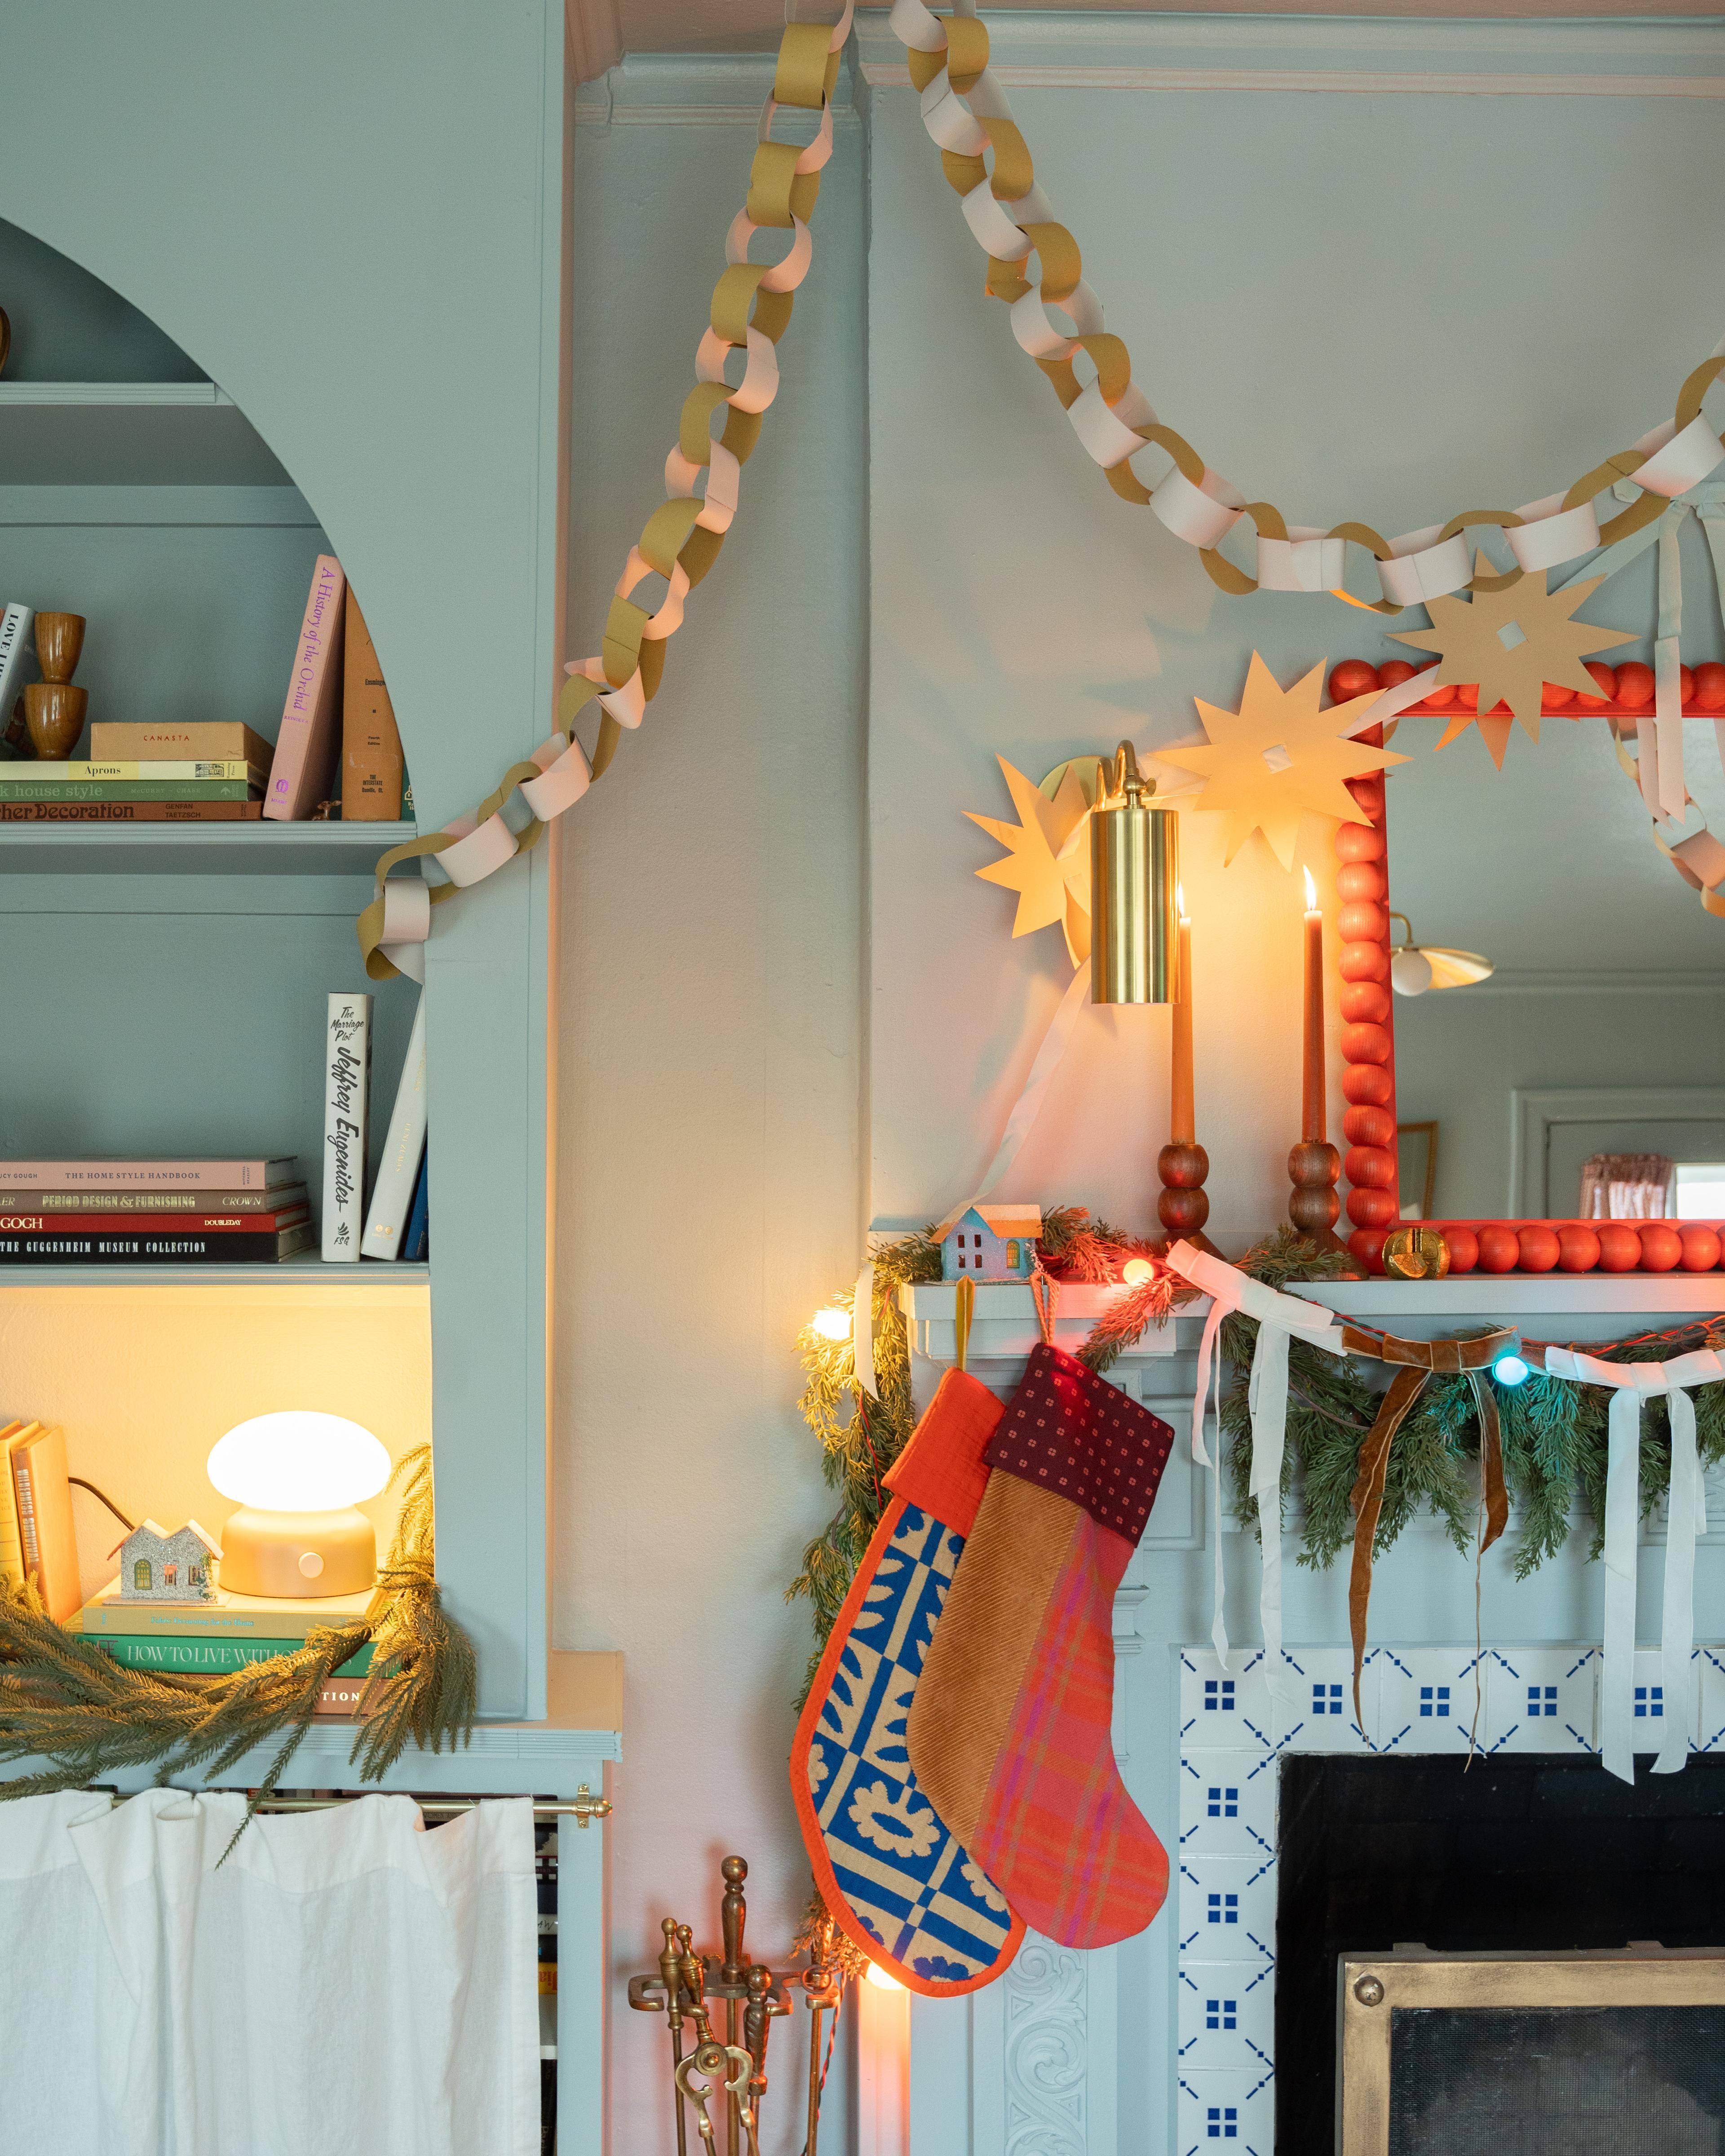
Garland #1: The Classic Paper Chain
Ah, the humble paper chain. A nostalgic favorite that deserves a spot in every holiday home. To make it feel more grown-up (and less grade school art project), try using textured or metallic paper and skip the staples in favor of a little hot glue for a cleaner finish. Cut your strips evenly, loop one through the next, and before you know it, you’ve got yards of old-school charm ready to drape over your tree, banister, or bar cart. Bonus points if you mix in a few unexpected colors or textured paper for an eclectic look.
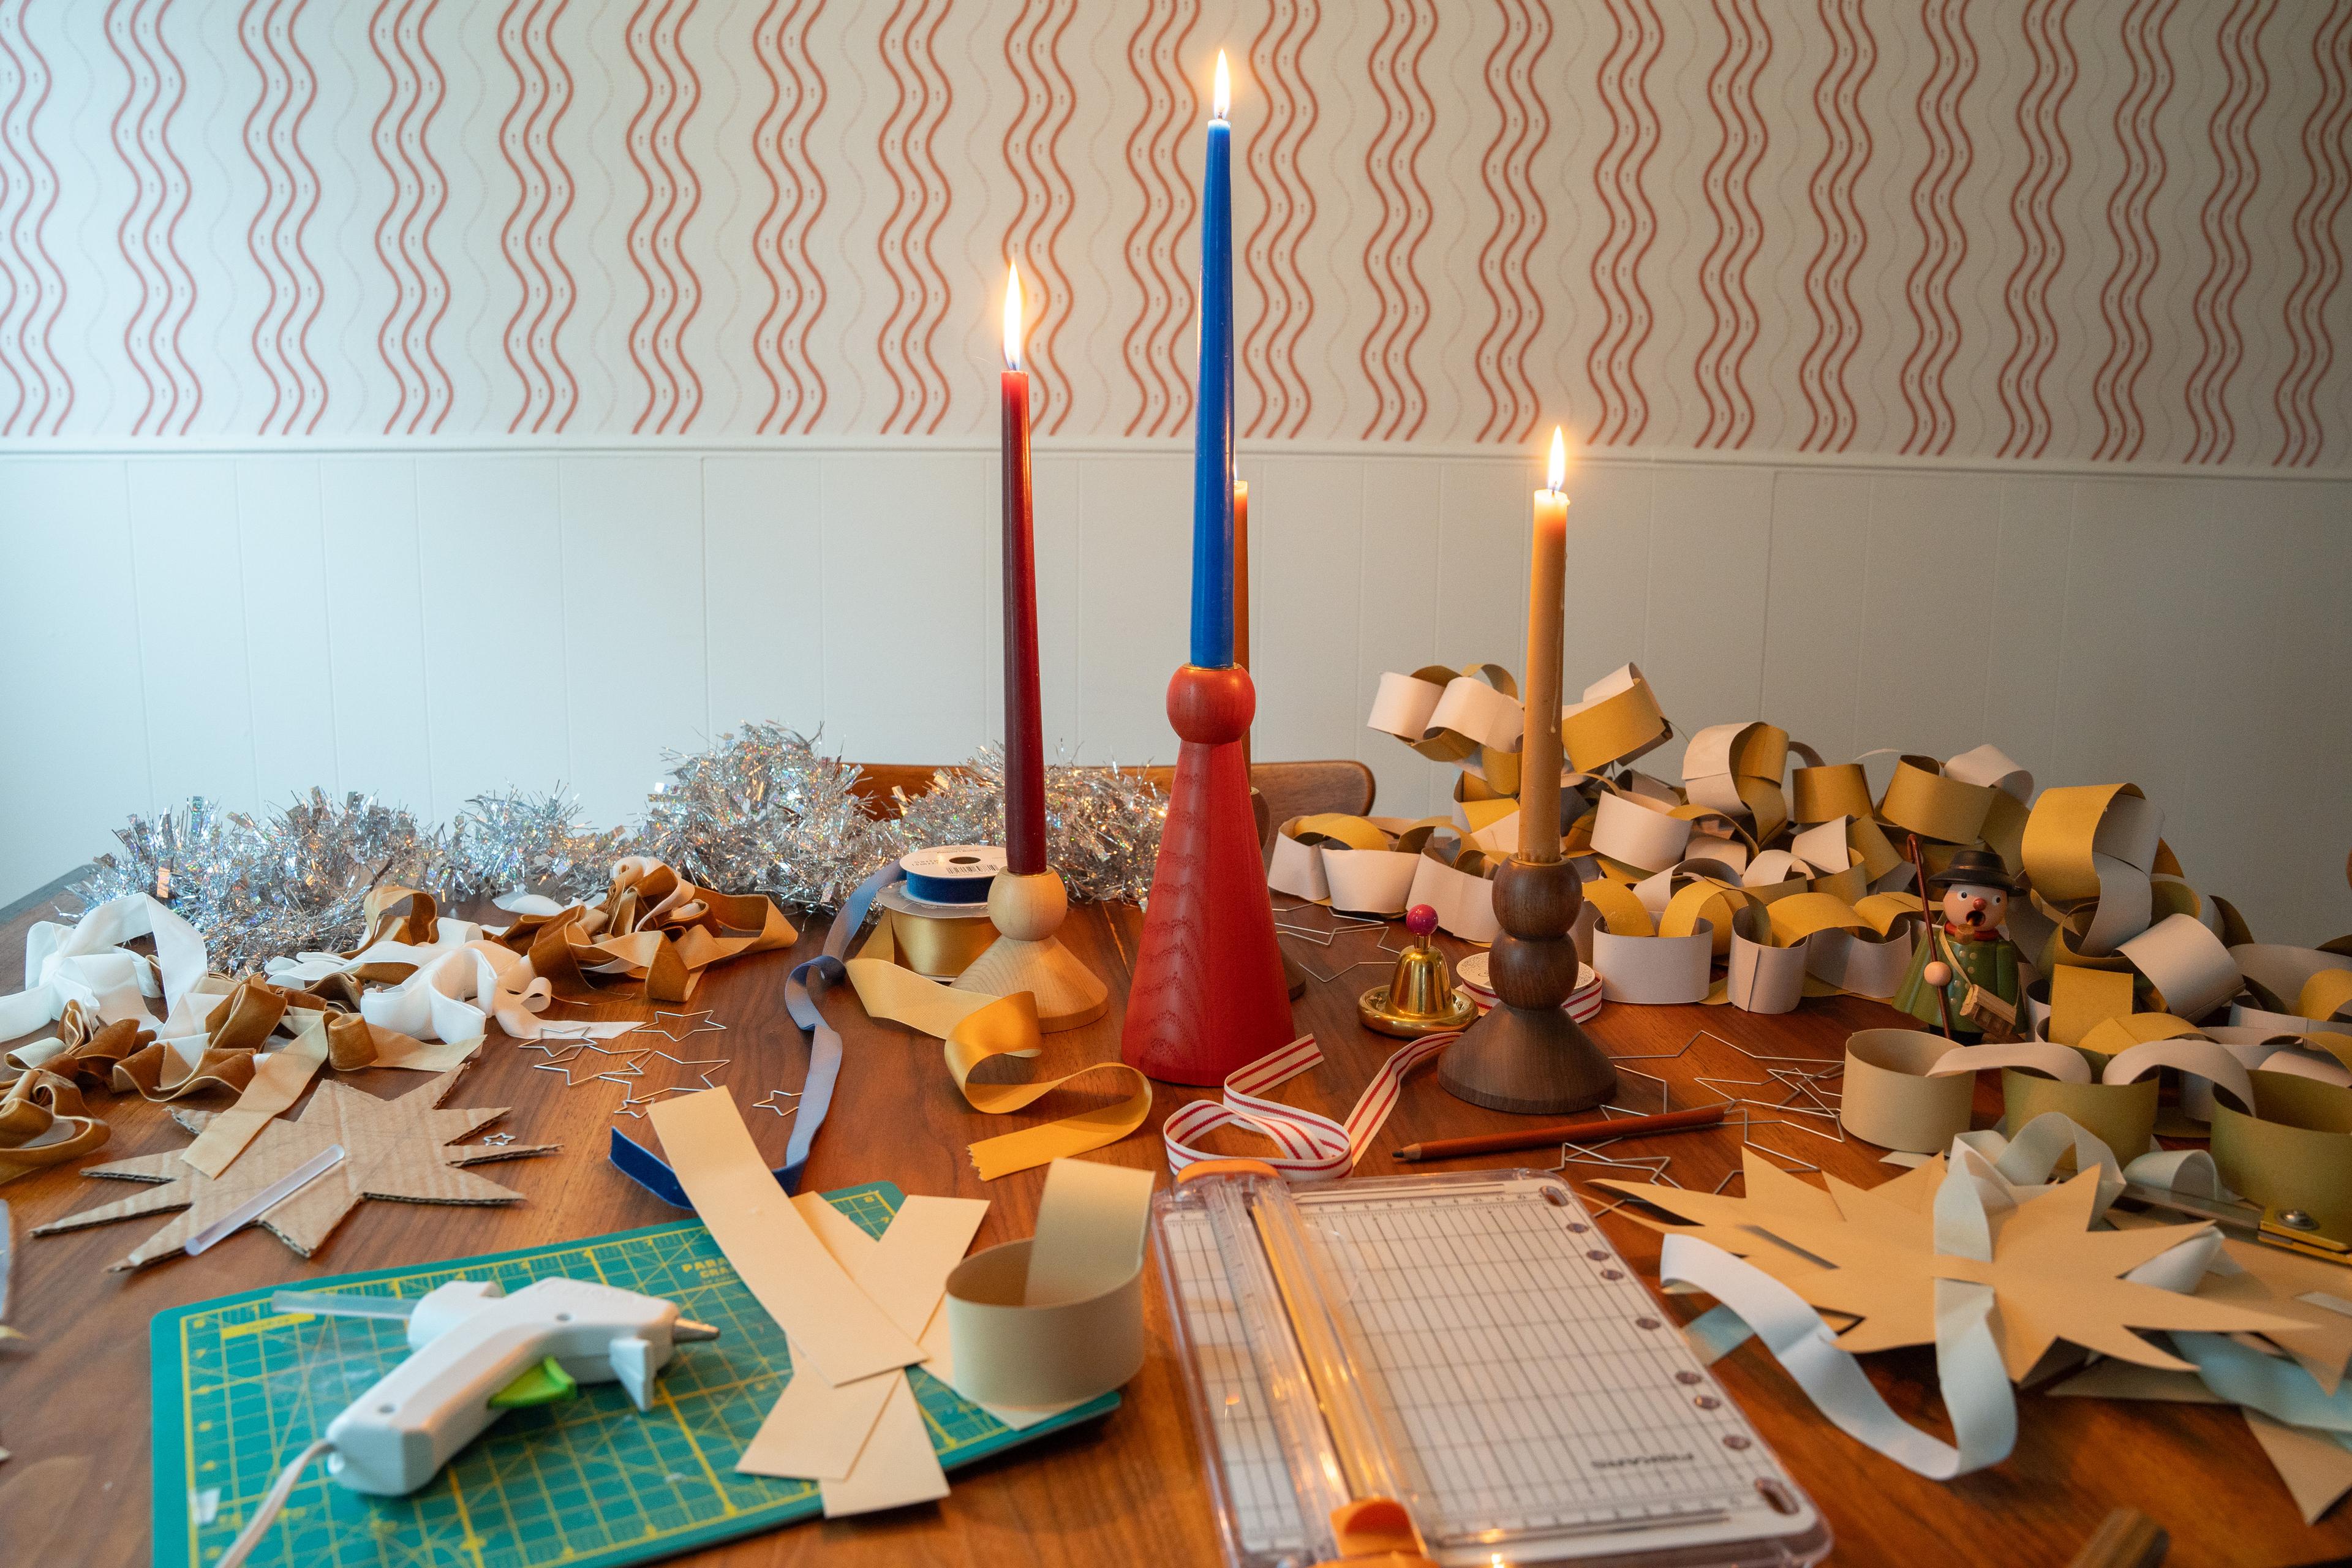
What you’ll need: 12–20 sheets of 8.5×11 cardstock or mixed papers, scissors or paper trimmer, hot glue gun.
Steps:
- Cut paper into strips. Aim for strips about 1”–1.25” wide × 8” long (adjust width/length for chunkier or daintier loops). A paper trimmer makes this much easier.
- Take one strip, make it into a loop (ends overlapping about ⅜”–½”). Add a small dot of hot glue to one end (just a pea-size bit) and press the ends together for 5–10 seconds until set.
- For the next loop, thread the new strip through the first loop before gluing its ends. Glue and press as before. Repeat, linking each new loop through the previous loop.
- If you want a pattern, alternate colors every 3–5 loops. For a subtle gradient, use shades of the same color.
- Continue until the garland is your desired length. Lay it flat for a minute to make sure all glue joints are secure.
- To hang: use small clear Command hooks, tiny nails, or loop the end onto ribbon/twine.
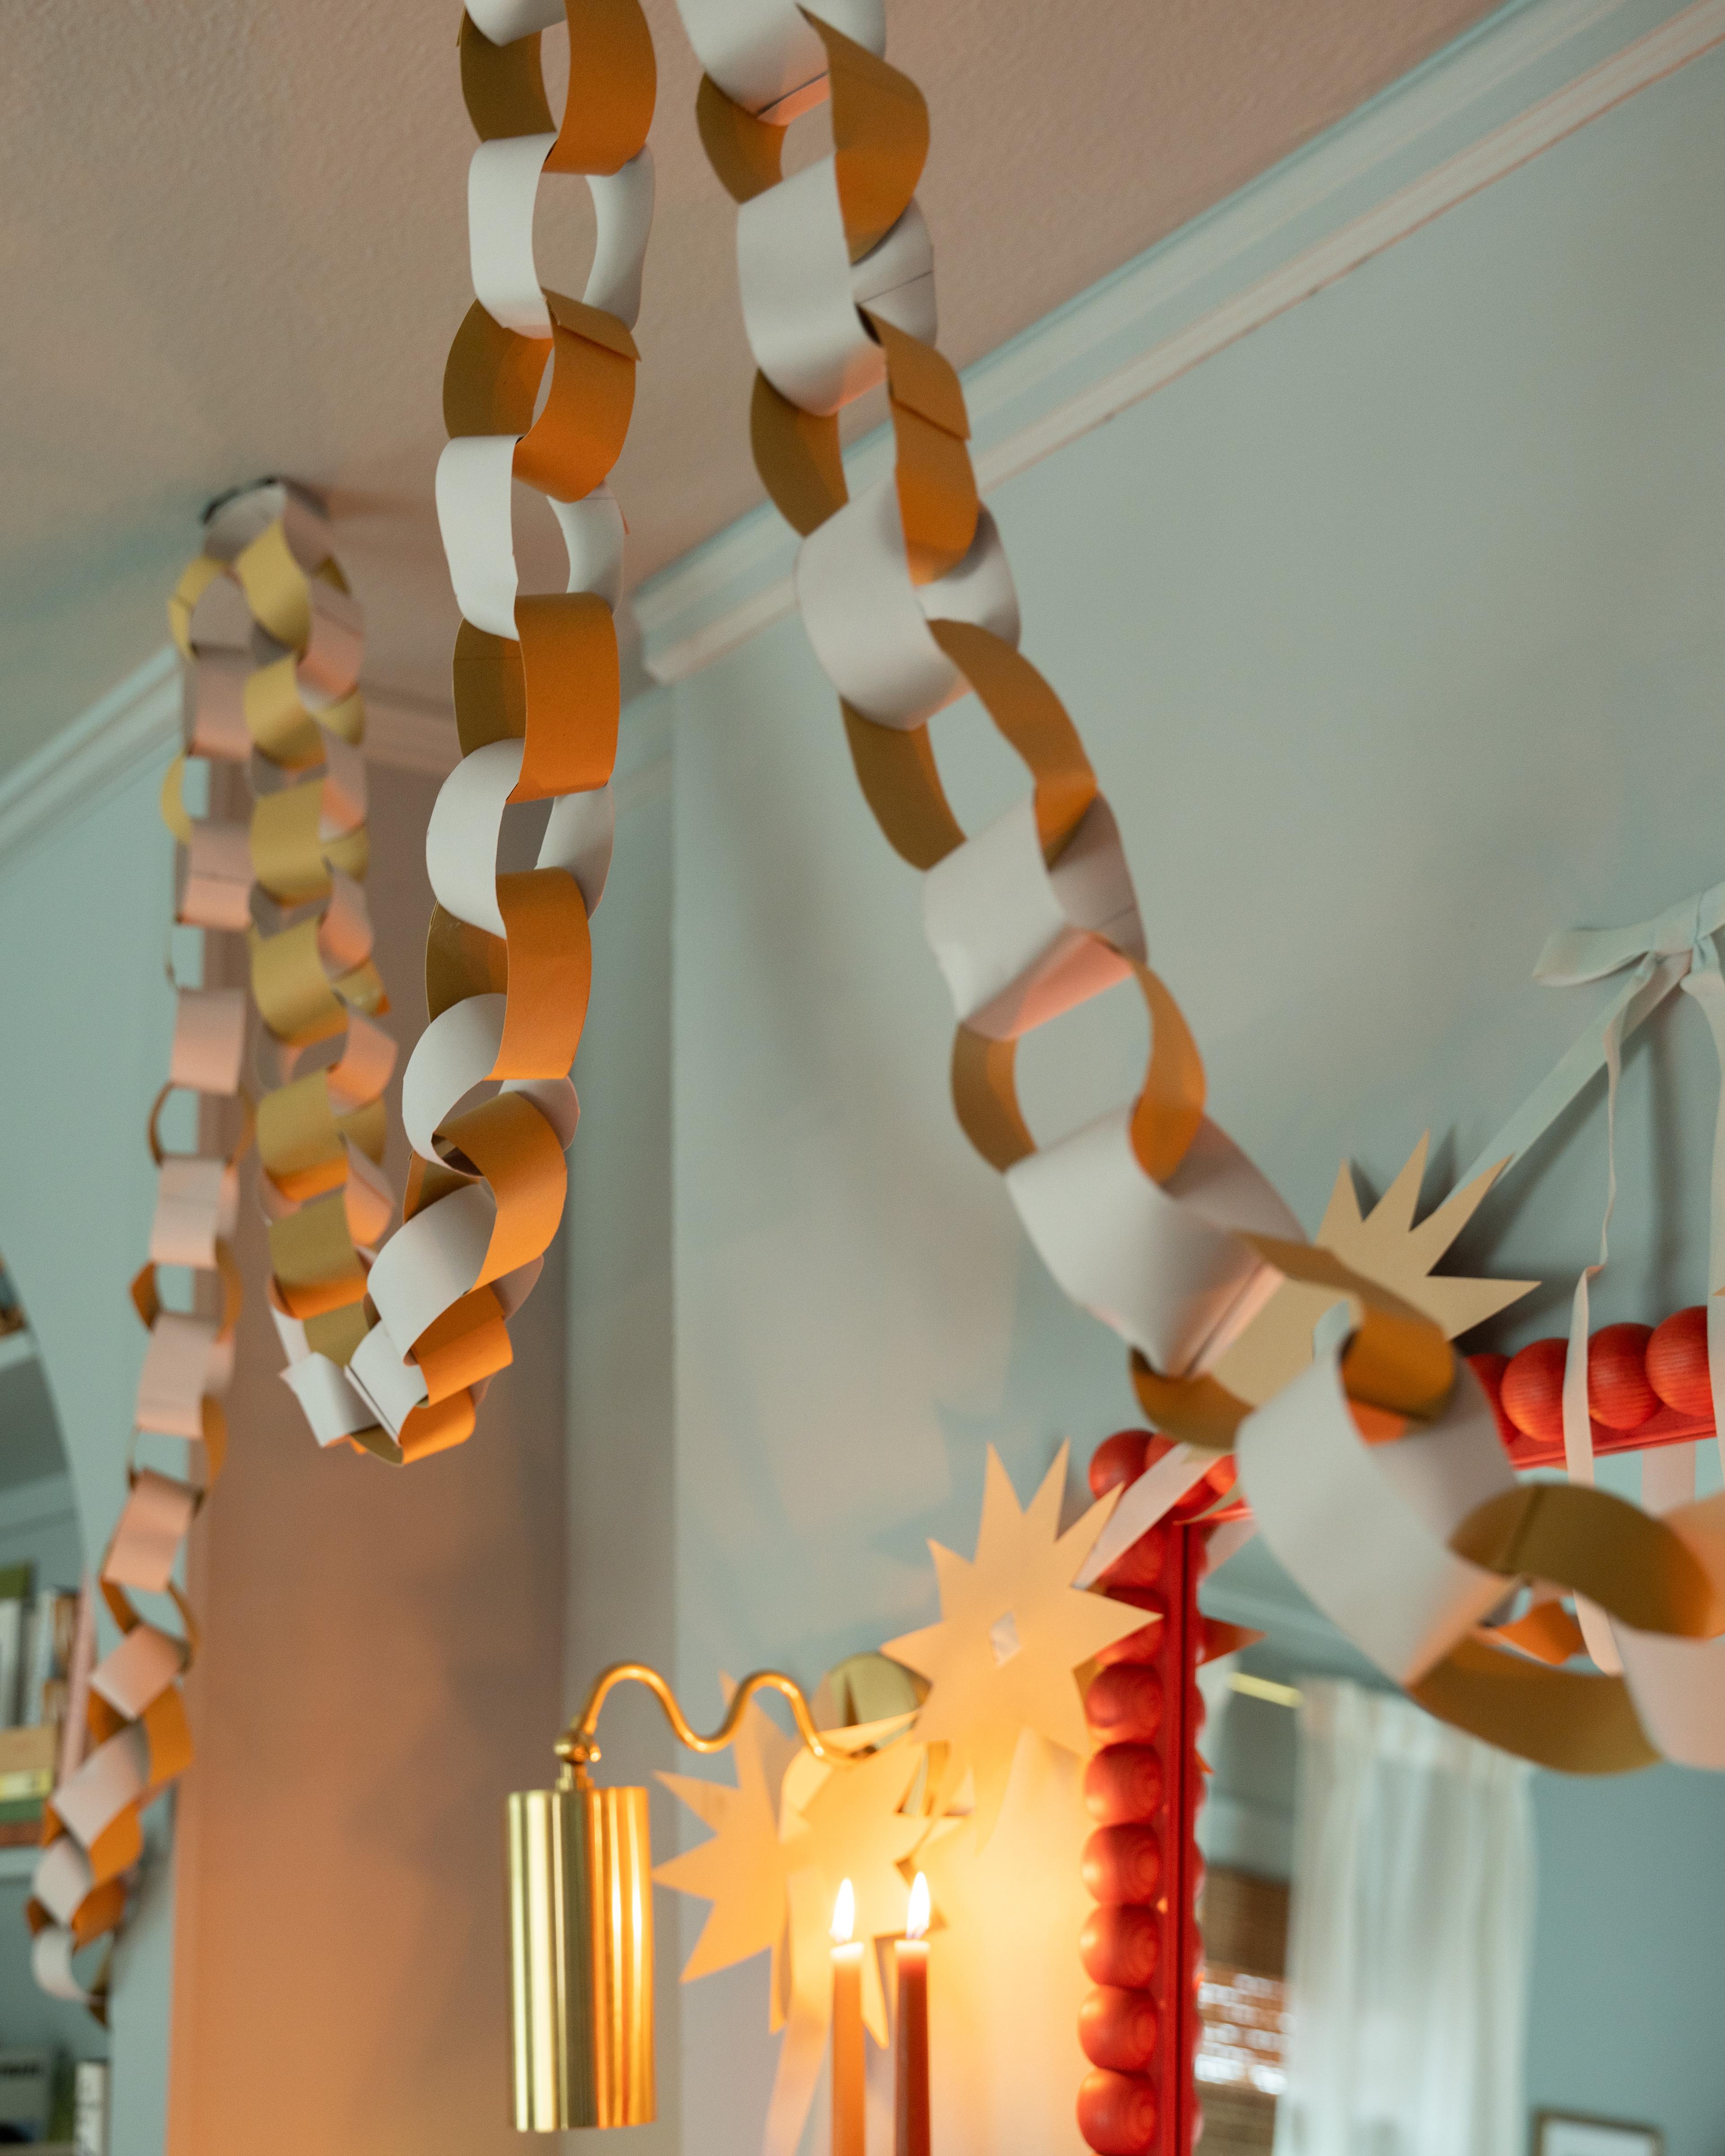
Tips & Variations:
- Use metallic or textured paper (or even fabric!) for a fun twist.
- For a long garland, consider gluing two strips end-to-end lengthwise before making loops to reduce the number of joins.
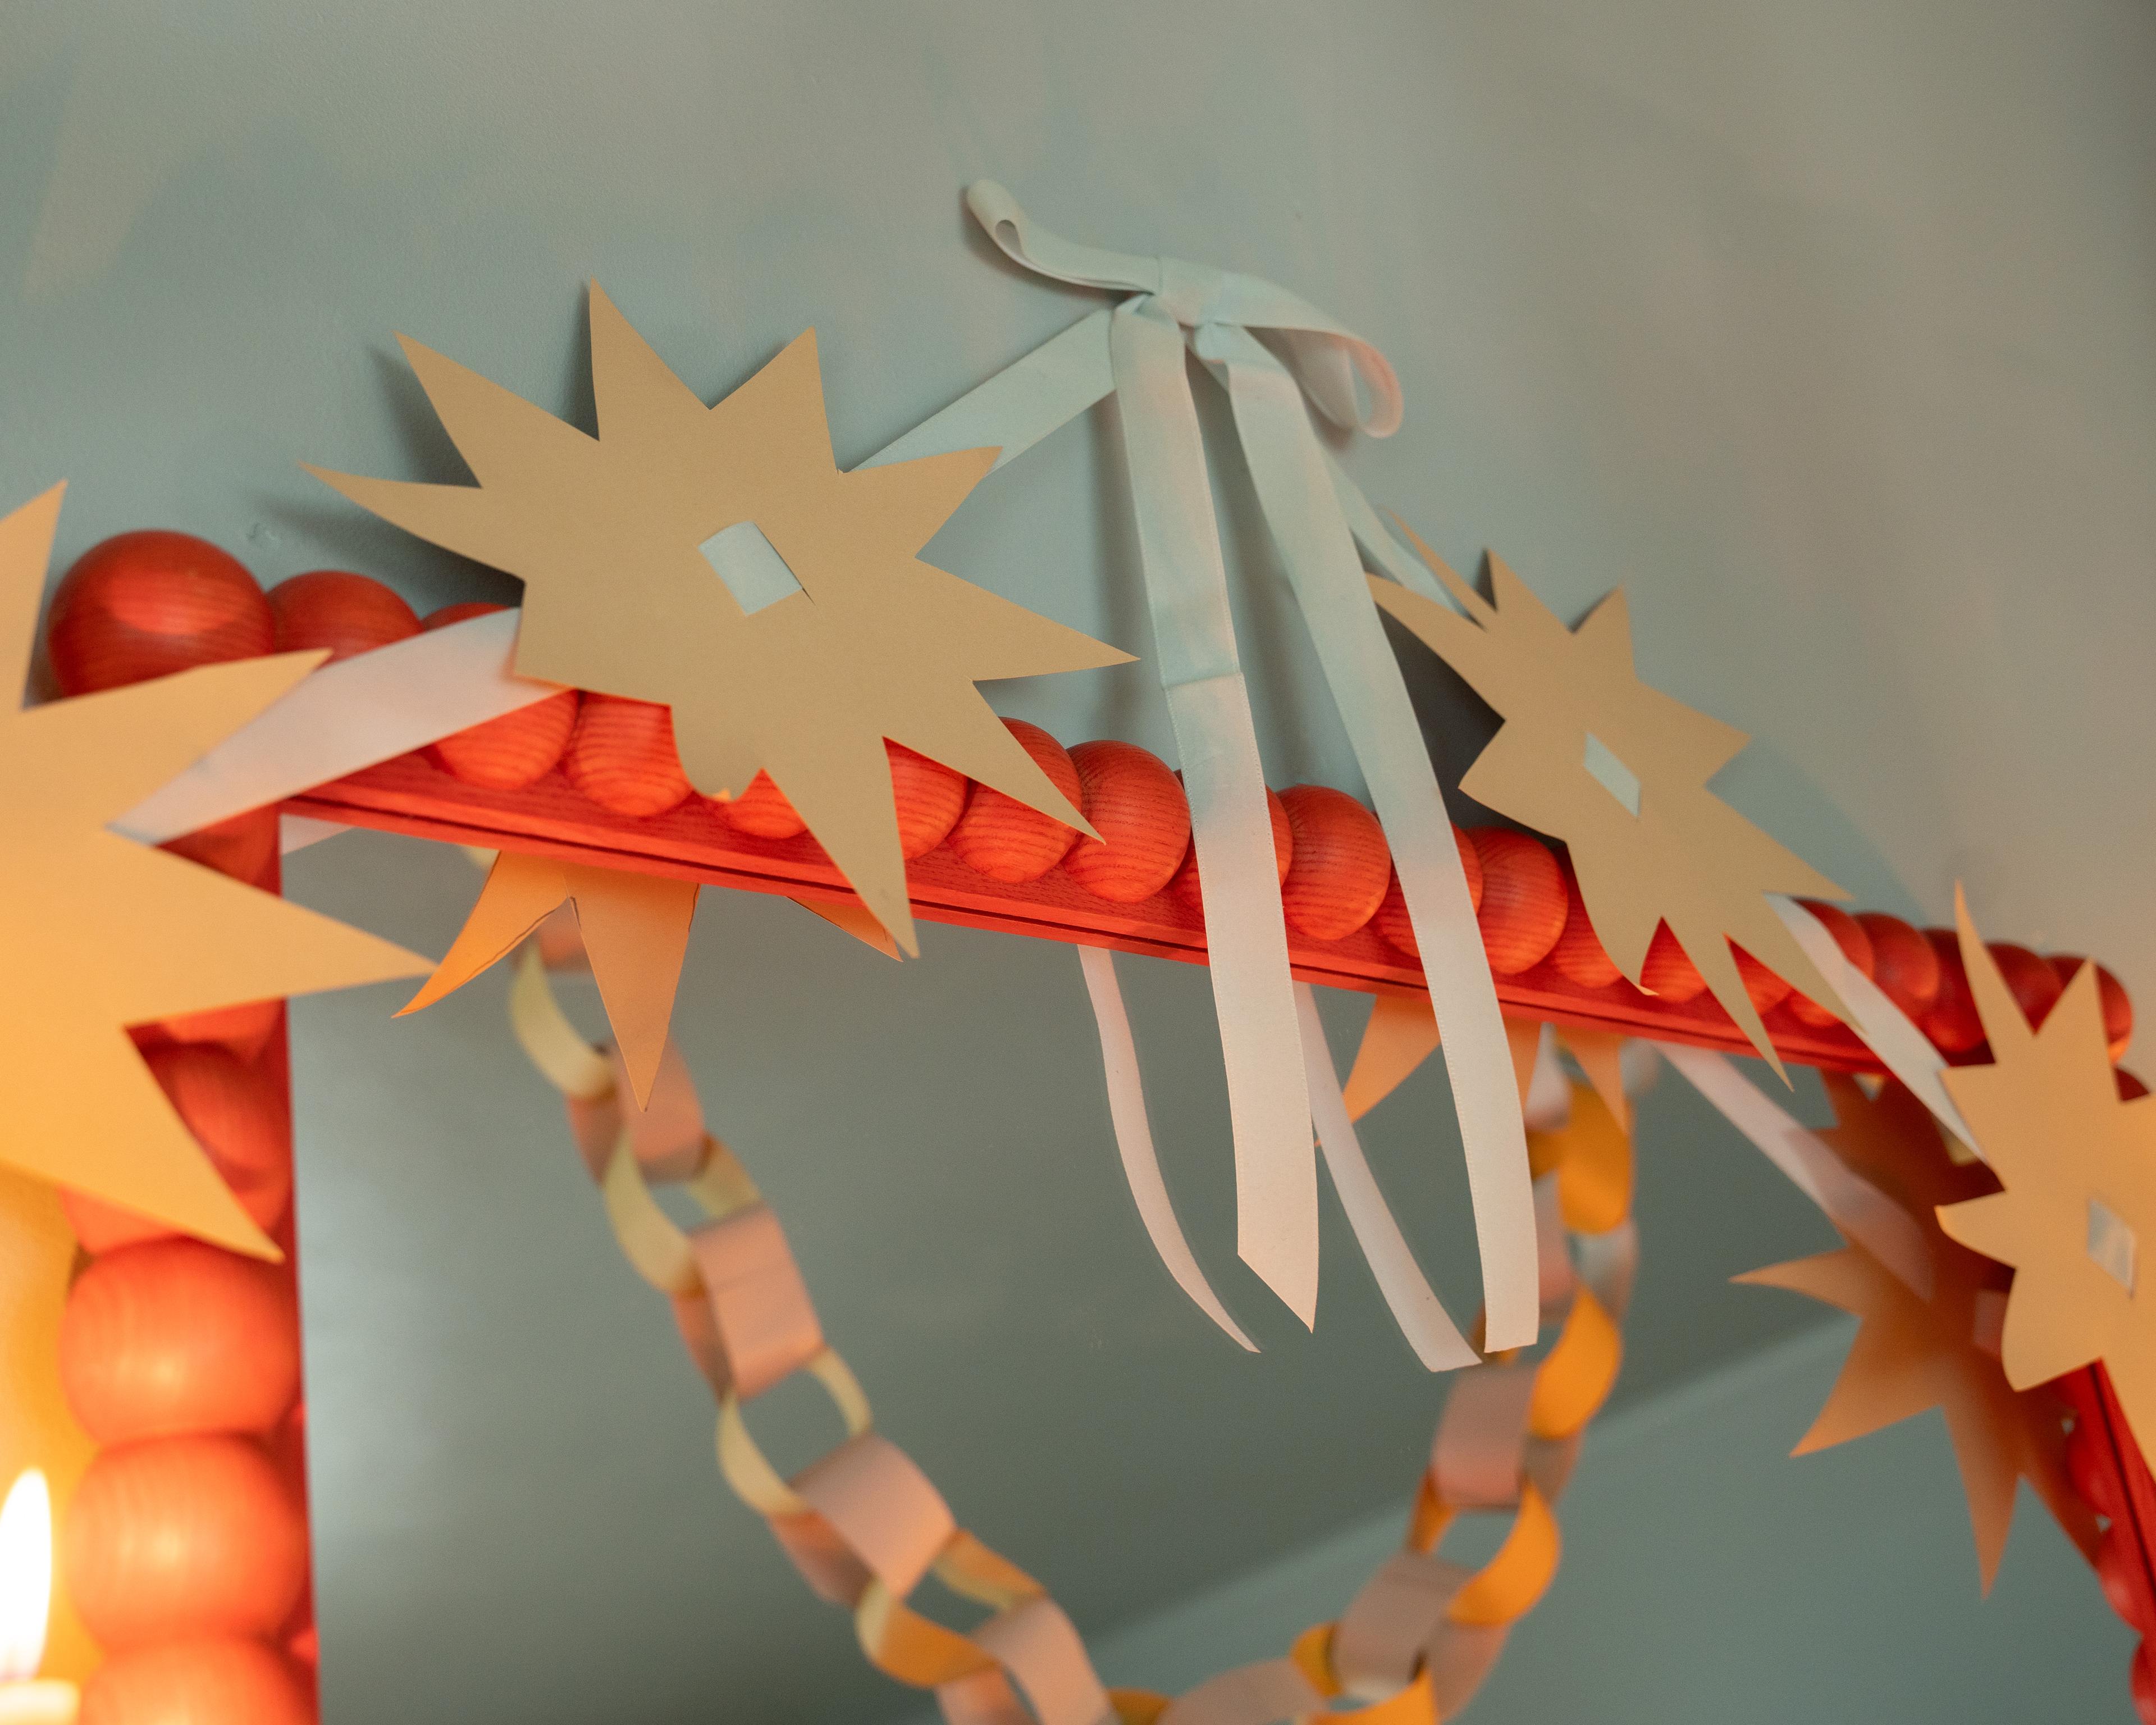
Garland #2: The Star of the Show
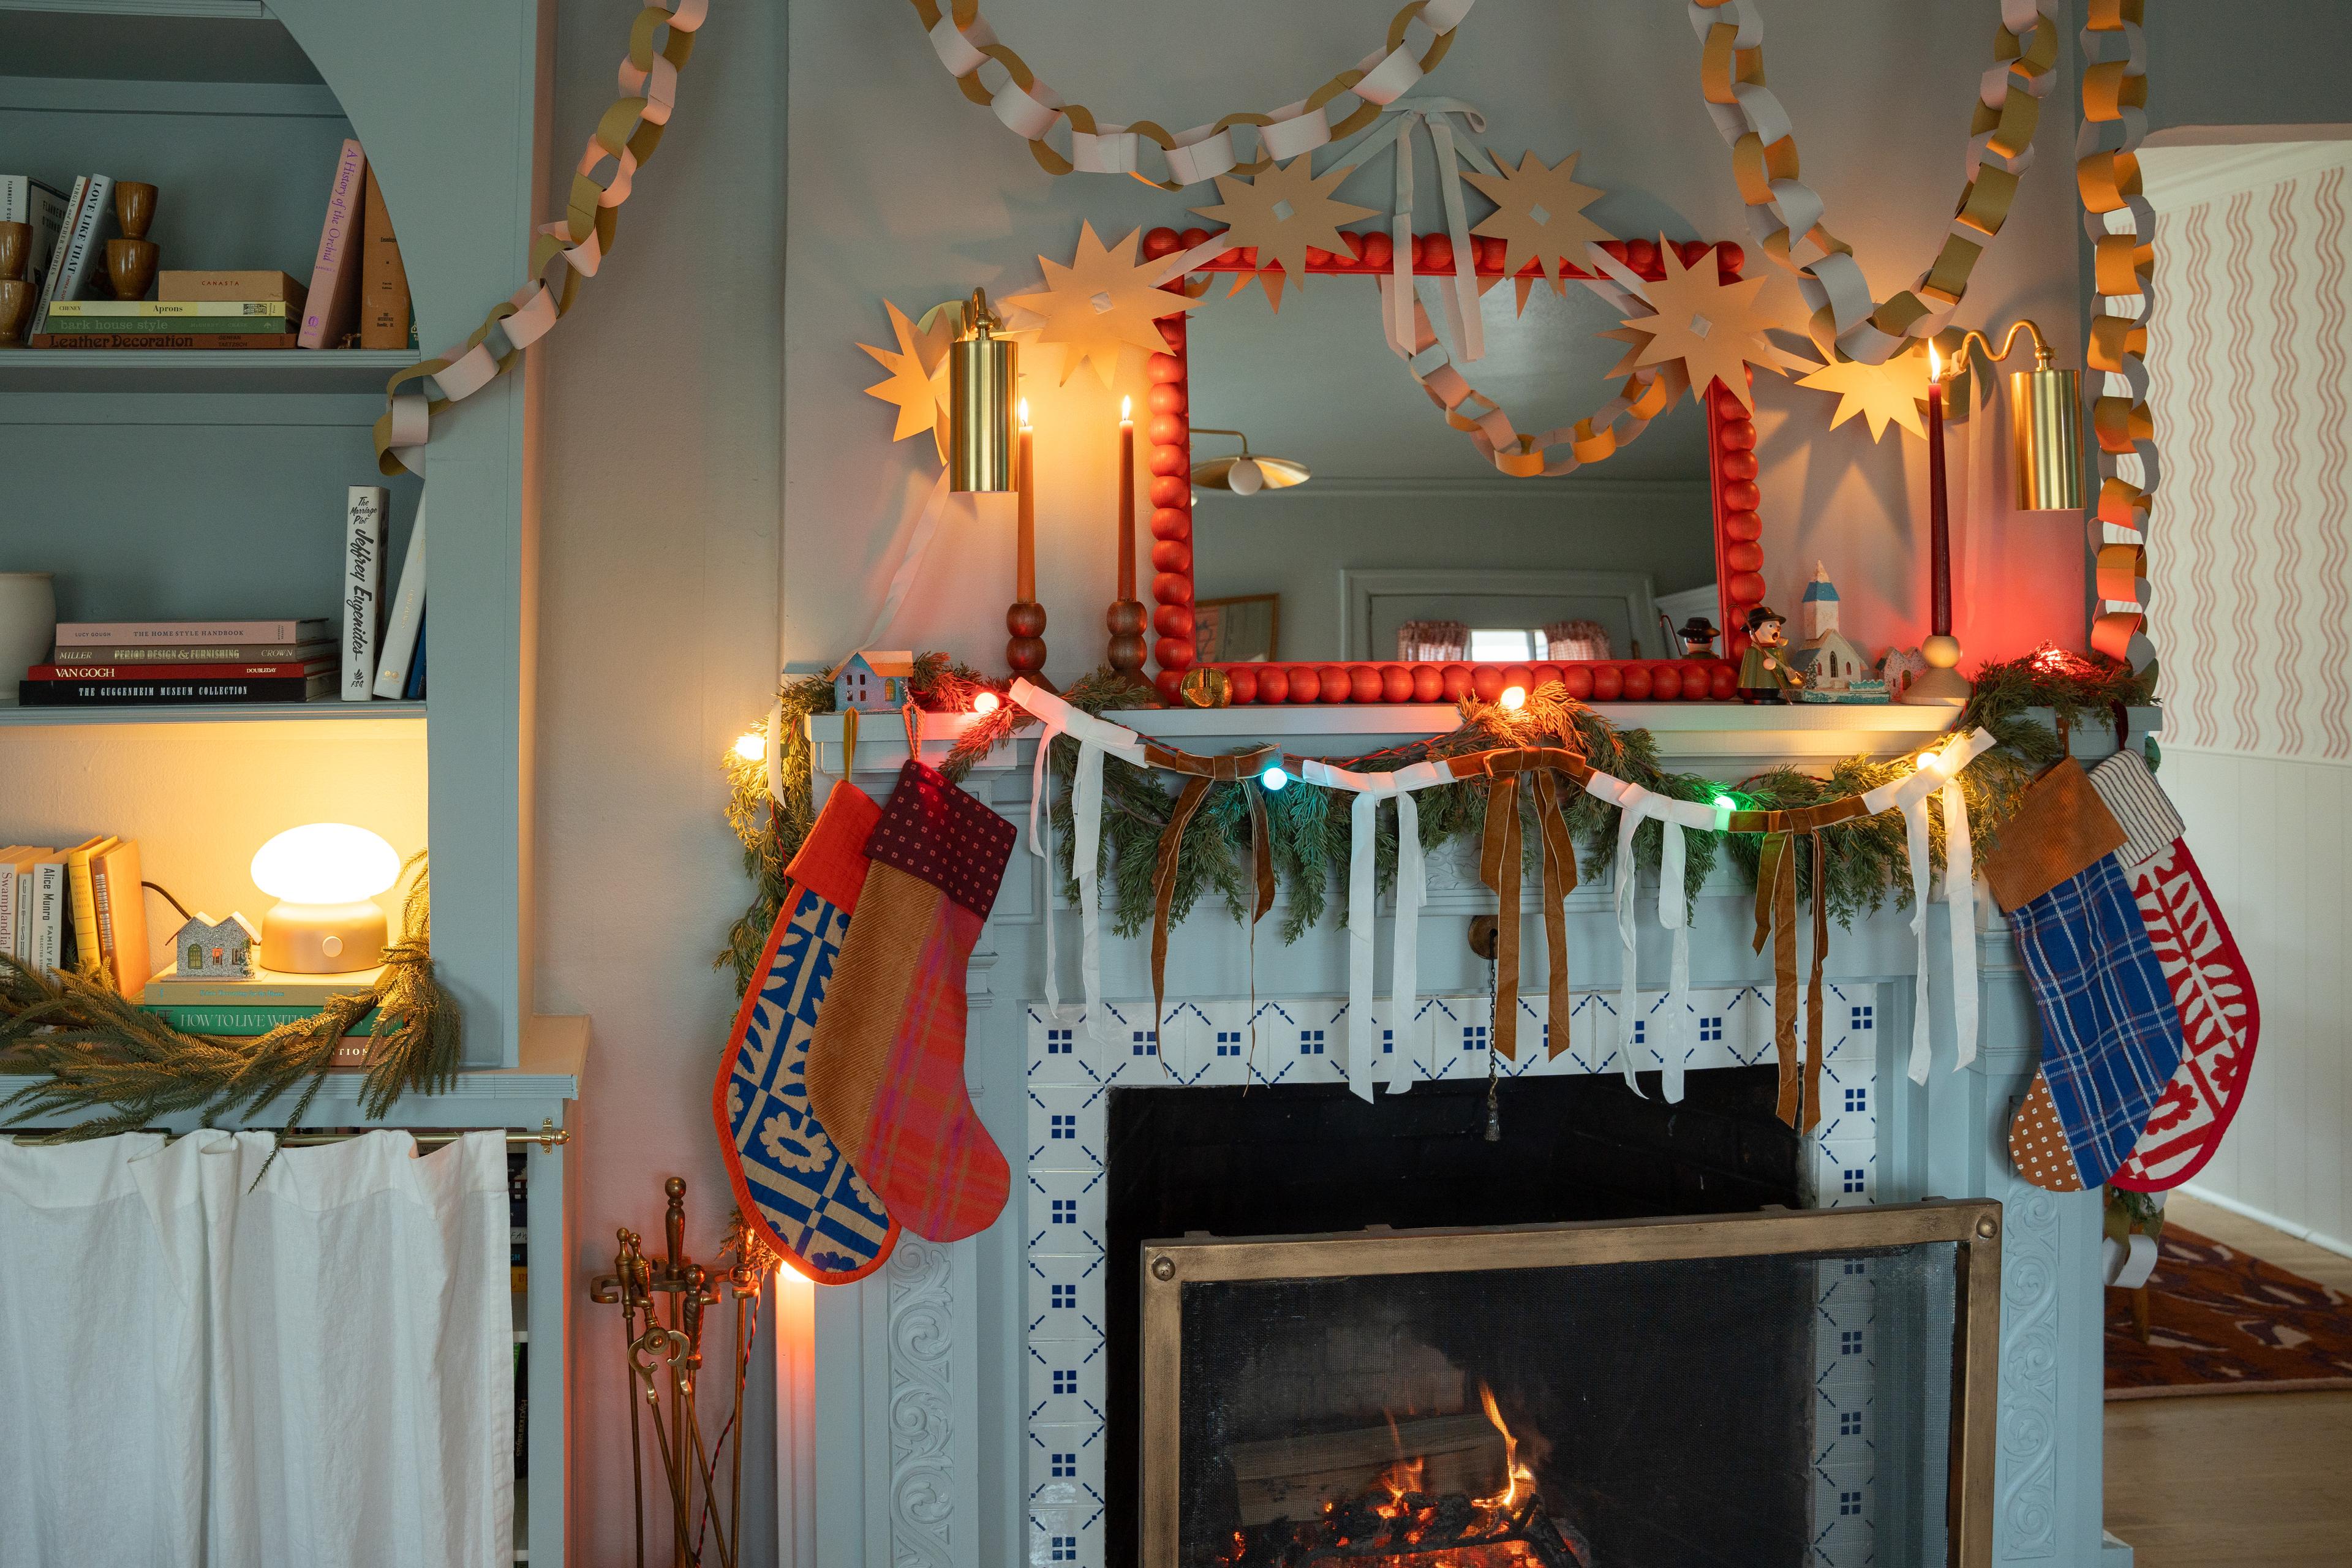
For a touch of whimsy, try this simple star garland. Cut stars from cardstock or patterned paper (a mix of sizes adds extra dimension) and thread them along a length of ribbon. It’s the perfect blend of minimal and magical. Hang it across a mirror or layer it over your mantle greenery for instant cheer.
What you’ll need: cardstock or pretty paper, star template or punch (I made mine by tracing the design onto cardboard and cutting it out!), ribbon (⅜”–¾” wide) or thin twine, craft knife or small scissors.
Steps:
- Cut stars using a star punch or by tracing a template and cutting by hand. Vary the sizes (the mix feels effortless). Aim for most stars to be between 1.5” and 3”.
- Make two small, parallel slits in the center of each star (about ¼”–½” apart). A craft knife and cutting mat will give you the cleanest cut. Keep the slits short, just long enough for the ribbon to pass through.
- Thread the ribbon through the two slits from the back so the star sits flat and stays anchored. For a more “floating” look, leave a bit of ribbon visible between each star.
- Repeat the process, spacing the stars however you prefer: close together for a dense garland or farther apart for something more airy.
- Finish by tying or gluing the ribbon ends to hang the garland. You can also hide the knot with a small bow.
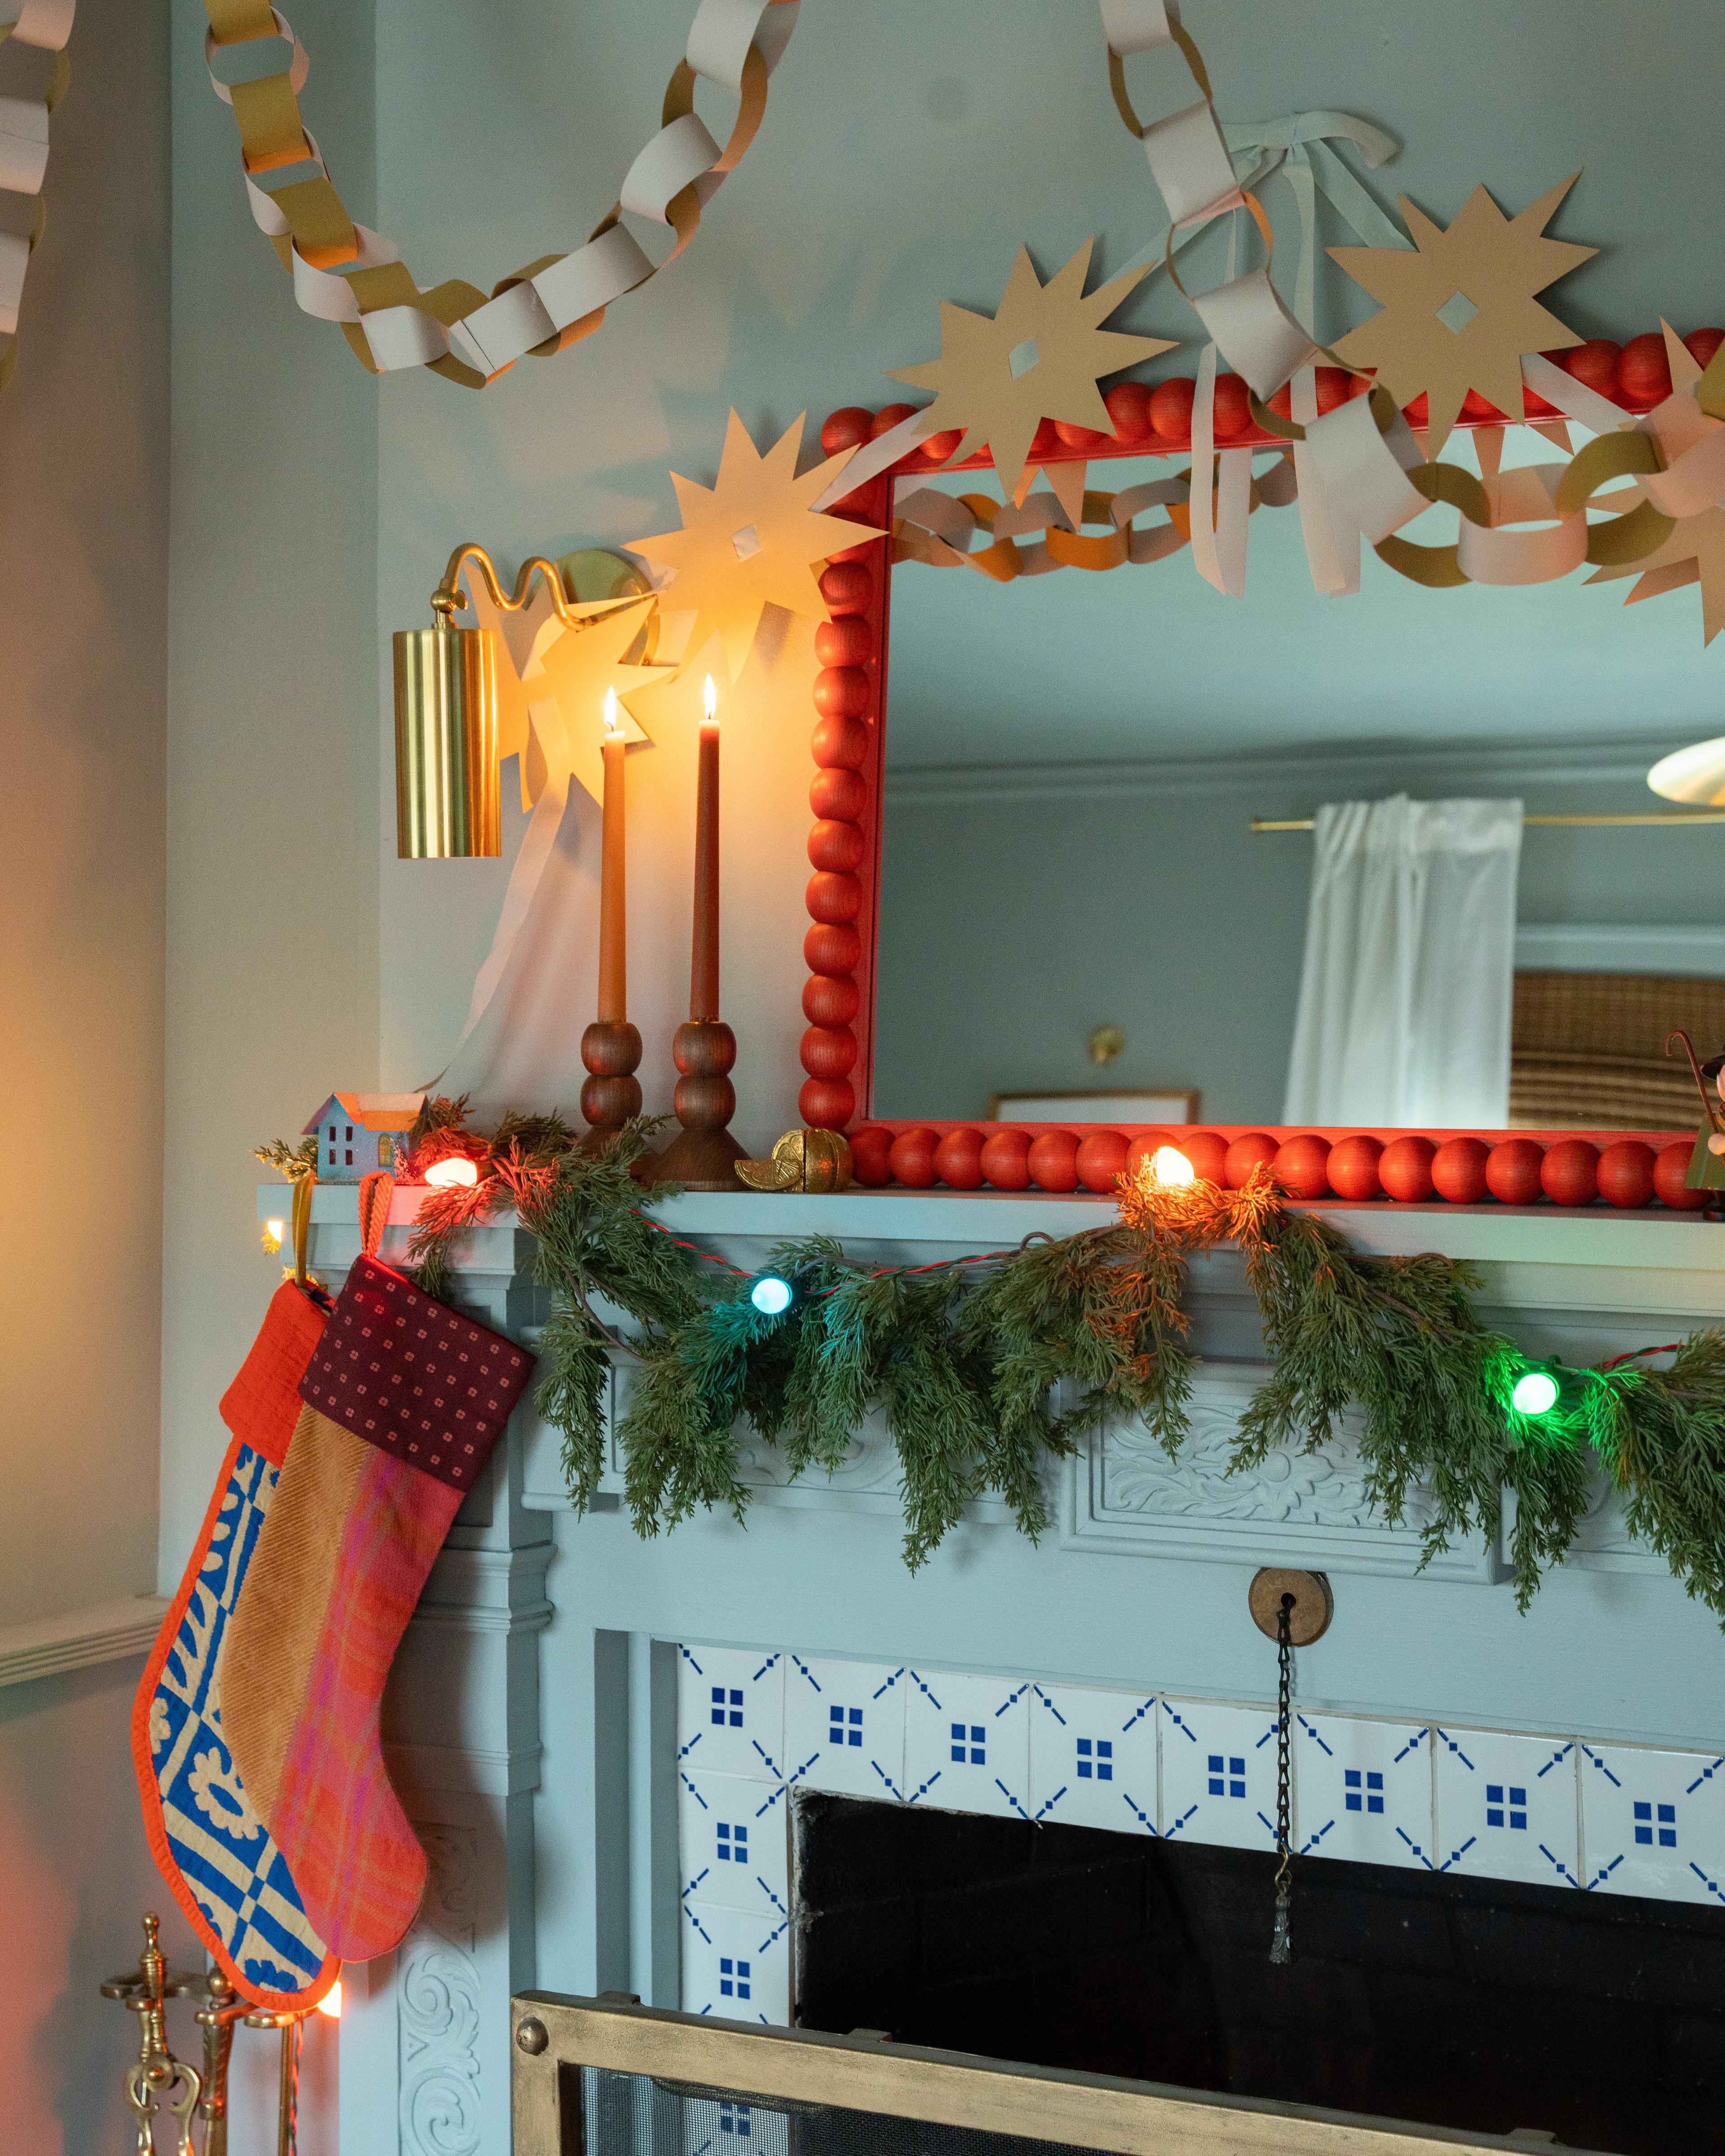
Tips & Variations:
- Use metallic thread instead of ribbon for something more delicate.
- Add a tiny dot of glue on the back of each star if you want the spacing to stay fixed.
- For a layered effect, glue a smaller star on top of a larger one before threading.
Garland #3: The Bow-Tied Beauty
This one couldn’t be simpler (or cuter). Grab a handful of pre-made bows (the kind that come in a pack, no judgment here), or make them yourself, and hot glue their sides together, end to end, until you’ve got a festive chain of bows. The result? Something between holiday maximalist and vintage department store display.
What you’ll need: pack(s) of pre-made bows (same size or mixed) or ribbon to make the bows, hot glue gun, scissors.
Steps:
- Start by laying out your bows on the table in the order you want them. You can mix colors and sizes for a more collected look or keep everything uniform. Decide whether you want all the loops facing the same direction for a cleaner feel or alternating for something more playful.
- Working from one end, add a small dollop of hot glue to the tail or edge of the first bow where it will meet the next. Press the next bow into the glue and hold for 5–10 seconds until it sets. Continue connecting bow to bow until you reach your ideal length.
- To finish, glue a small loop of ribbon or twine at each end for hanging.
Tips & Variations:
- For a mixed-texture look, try alternating grosgrain bows with velvet or metallic ones.
- To make the garland feel more luxe, tuck small sprigs of faux evergreen or berries between a few bows using thin wire.
How to Style Your Handmade Garlands
Once your creations are complete, the fun part begins: finding the perfect spot to show them off. Drape the paper chain over a bar cart or loop it twice around a small tree for a dose of nostalgic charm. Let the star garland float across a mirror or layer it over string lights to add a little extra sparkle and depth. The bow garland shines as a playful headboard topper or swag them across a mantle for instant holiday charm. If you’re feeling extra whimsical, our best advice is to mix and match: layer the star, bow, and paper chain garlands together for a curated look that feels straight out of a holiday magazine spread. Then, step back and admire the fact that your space just got a little brighter, a little cozier, and a whole lot more magical.


